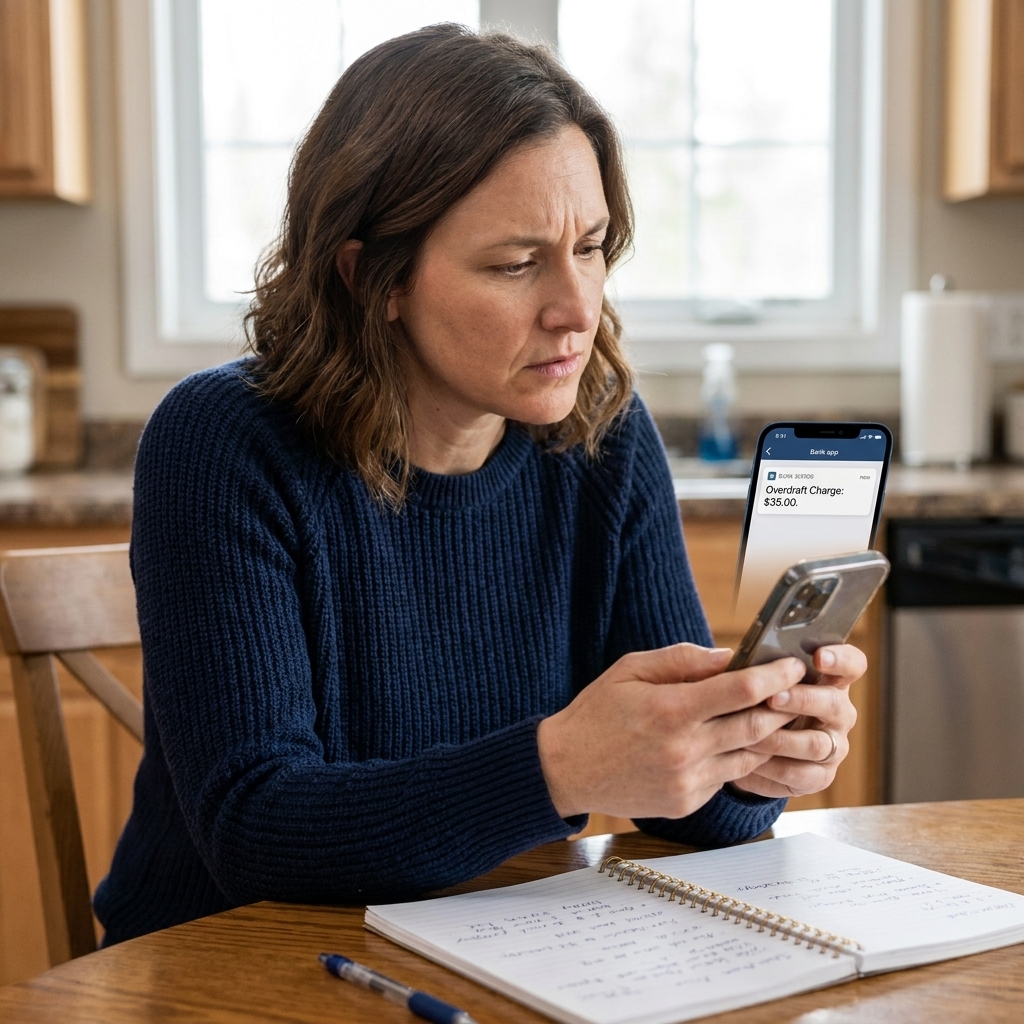
Switching banks sounds simple until you picture that one bill you always forget about and the late fee that follows. I have been there. The goal is not a perfect, instant switch. The goal is a controlled overlap so nothing bounces while you move your money life from Bank A to Bank B.
This checklist is the exact approach I recommend when you want to move checking accounts, reroute direct deposit, and migrate recurring payments without missing a beat.
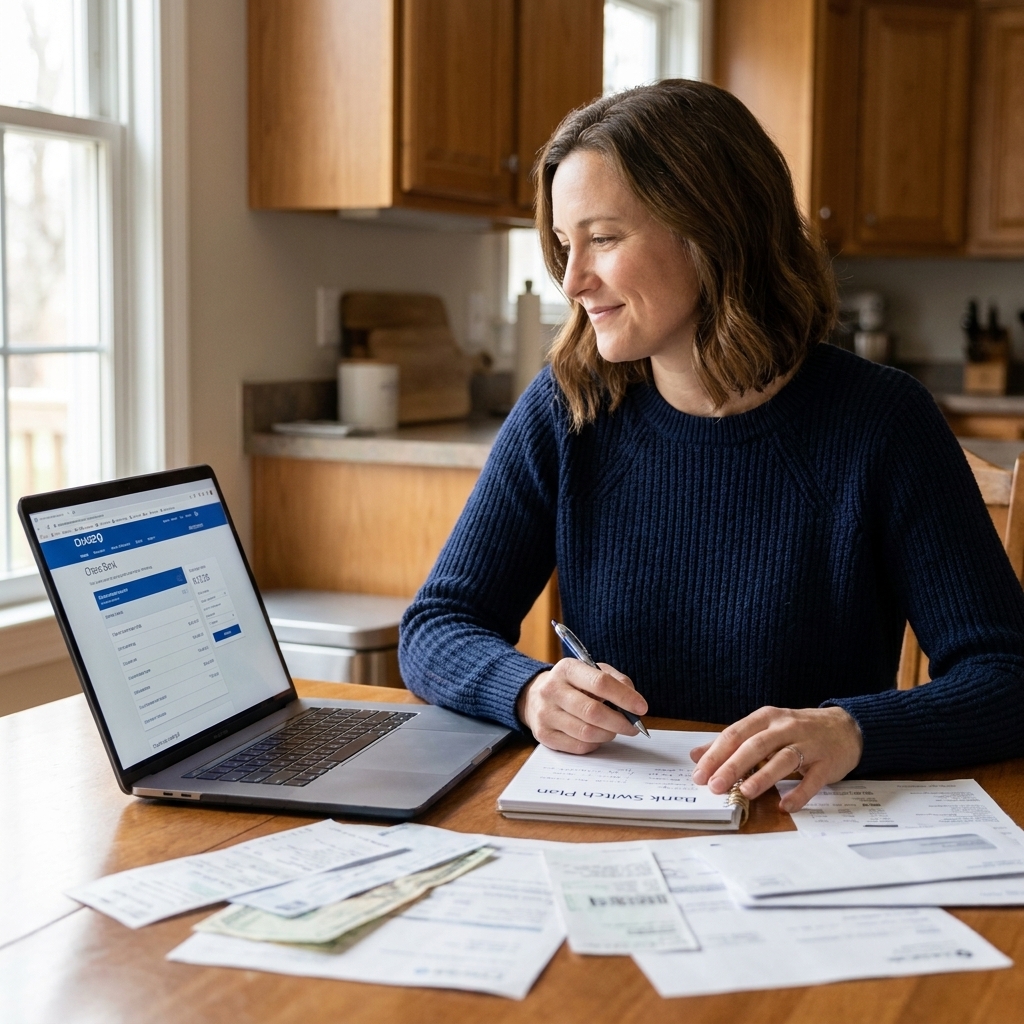
Before you start: pick your switch date
Your switch will go smoother if you do it on purpose, not in a panic.
- Best time: right after a paycheck posts, when your balance is healthy and there is time before the next round of bills.
- Plan for overlap: expect 2 to 4 weeks where both accounts stay open. This is what prevents missed payments.
- Avoid: the day before rent or a big recurring draft hits. Give yourself breathing room.
The simple bank-switch checklist
Step 1: List every connection to your old checking
This is the part people skip, and it is the part that causes surprise late fees.
Pull the last 60 to 90 days of transactions from your old checking account and create three lists:
- Money coming in: payroll direct deposit, government benefits, child support, transfers from other banks, Venmo or PayPal cashouts.
- Money going out automatically: rent, mortgage, utilities, car payment, insurance, subscriptions, gym, childcare, student loans, credit cards, BNPL payments.
- Linked services: Zelle, Cash App, PayPal, Venmo, Apple Pay, Google Pay, brokerage transfers, budgeting apps, payment wallets.
Quick tip: Look for “recurring” labels in your bank app, and search your transaction history for words like monthly, autopay, subscription, and common merchants (Netflix, Spotify, your utility company name).
Do not forget the irregular stuff: annual or quarterly charges like Amazon Prime, HOA dues, car registration, professional licenses, and any once-a-year memberships. If you only look at one month, you can miss them.

Step 2: Open the new checking and set the basics
Open the new account first. Do not close anything yet.
- Enable online access and download the app.
- Turn on account alerts for low balance, large transactions, and deposits.
- Order a debit card and checks if you still use them for rent or contractors.
- If offered, set up overdraft settings intentionally. I prefer either “decline transactions” or “link to savings” rather than fee-heavy overdraft programs.
If your new bank requires a minimum deposit to avoid fees, note the amount now so it does not become an accidental surprise later.
Bonus tip: If you opened the new account for a sign-up bonus, skim the requirements (direct deposit rules, minimum balances, debit swipes, time window) so you do not accidentally disqualify yourself.
Step 3: Check for early closure fees
Before you get too far, confirm whether your old checking account has an early account closure fee (often if the account is closed within the first 90 to 180 days). It is not universal, but it is common enough that it is worth a two-minute check in your fee schedule or a quick call.
Step 4: Keep a buffer in the old account
Before you move money out, leave a buffer behind so any straggler charges do not bounce.
My rule of thumb:
- Buffer = about one month of recurring payments that still might hit the old account, or at least your biggest bill plus $100.
If that sounds like too much, start by leaving your biggest single recurring payment (often rent, mortgage, or a car payment) plus a little cushion. The buffer is temporary insurance.
Step 5: Move direct deposit (and confirm it landed)
Direct deposit changes can take 1 to 2 pay cycles and sometimes longer, depending on your employer or benefits provider. That is normal.
- Update payroll: Ask HR or use your payroll portal to change the routing and account number.
- For government benefits: follow the agency’s direct deposit change steps and keep confirmation details if provided.
- Optional safer move: If your employer allows split direct deposit, send a small amount to the new account first while the rest still goes to the old account. Then switch the full amount once the test deposit hits.
Do not proceed to closing the old account until you see at least one full paycheck deposit successfully into the new account.
Step 6: Transfer recurring bills in a controlled order
This is where the “no missed bills” part happens. You are going to migrate recurring payments in a controlled order, while both accounts exist.
Start with your highest-priority bills
- Rent or mortgage
- Utilities (electric, gas, water)
- Insurance (auto, renters, health)
- Car payment
- Student loans and other loans
- Credit card minimum payments
Then move “nice to have” recurring payments like subscriptions and streaming.
For each bill, do this mini-checklist
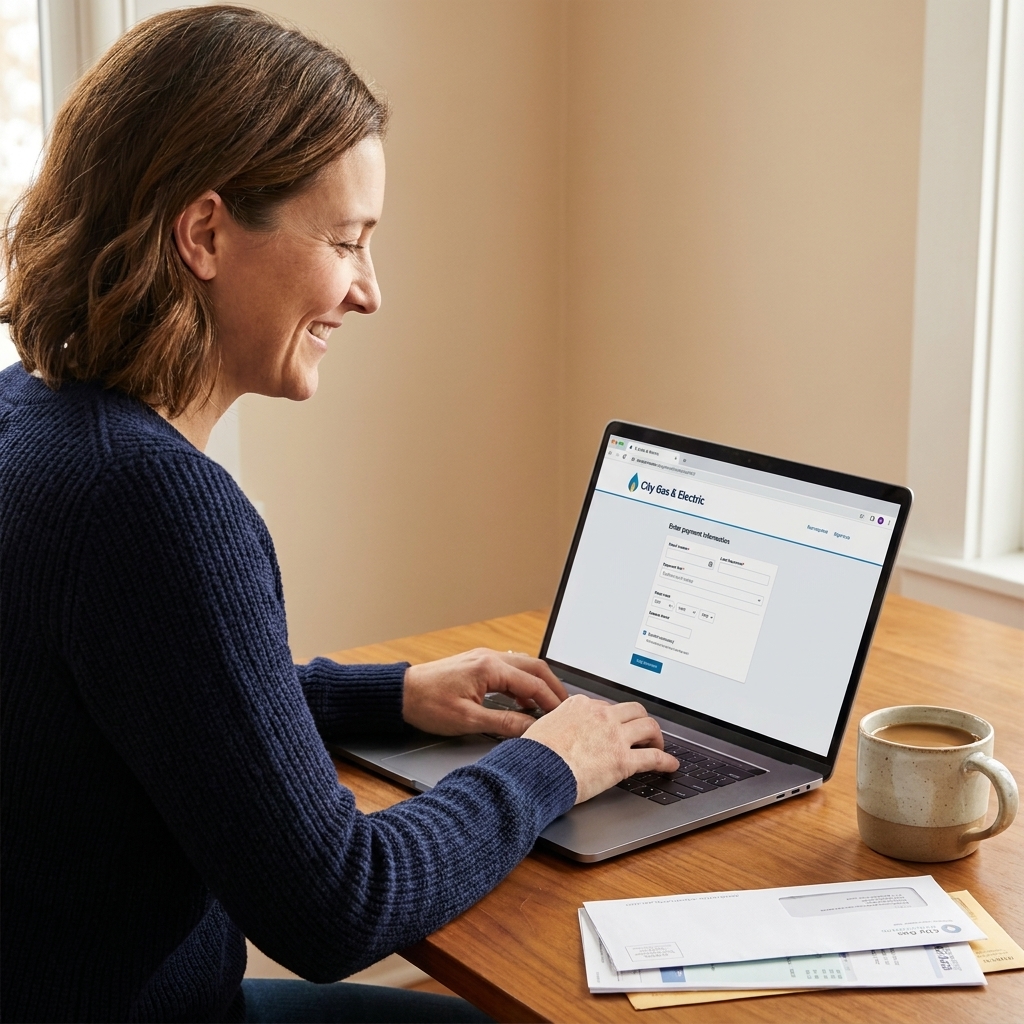
- Log into the biller’s website or app (not your bank).
- Update the payment method to the new routing and account number, or your new debit card if you pay that way.
- Check the next draft date.
- Look for a cutoff time or processing window (many billers have one).
- Save a screenshot or confirmation number for your records.
Rule of thumb: If a bill is scheduled to draft in the next few business days, it is often safer to let it draft from the old account one last time, then switch it for the following cycle. If your biller shows a clear cutoff time and you are before it, you may be able to switch immediately.
Step 7: Handle checks and other slow movers
If you write checks, treat them like the slowest recurring payment of all.
- Outstanding checks: If you have written checks that have not cleared yet (rent, contractors, school fees), keep the old account funded until they clear. A check can be deposited weeks later.
- Automatic bank drafts you did not set up: Some merchants use ACH based on your account number you gave them long ago. Your transaction history is your best clue.
- Refunds and chargebacks: If you expect a refund to land in the old account, leave it open until it posts.
Step 8: Update wallets and person-to-person apps
These are the sneaky ones that cause chaos later.
- Zelle: Many banks tie Zelle to your email or phone number. If you switch banks, you may need to unenroll at the old bank and re-enroll at the new one (or follow your bank’s transfer steps).
- Venmo, Cash App, PayPal: Update the linked bank account for transfers. Consider leaving the old bank linked until the switch is complete, then remove it.
- Apple Pay or Google Pay: Add the new debit card and set it as default if you use tap-to-pay.
Also update anywhere you have your bank saved for refunds or payouts, like gig work apps, marketplaces, travel sites, and delivery apps.
Step 9: Update external bank links
Do a quick sweep of places where your checking account is linked for transfers. Common ones:
- Brokerage accounts
- HSA and FSA administrators
- 529 plans
- High-yield savings accounts at another bank
- IRS and state tax refund settings
- Any bank-to-bank transfer setup you use for moving money around
If you use a budgeting app that pulls transactions, update the connection so your categories do not break mid-month.
Step 10: Move your money in two transfers
Once your income is landing in the new account and the big recurring payments are moved, transfer most of your balance over, but keep that buffer in the old account.
- Transfer #1: Move the majority to the new checking (or new checking plus savings).
- Wait: Let at least 2 weeks pass while you monitor both accounts for unexpected charges.
- Transfer #2: Move the remaining funds after you are confident nothing else is drafting.
If you use an external transfer (ACH), keep in mind transfers can take a few business days. Avoid transferring money out of the old account right before weekends or holidays if your balance is tight.
Step 11: Monitor both accounts for a full cycle
For one month, do a quick check twice a week:
- Any recurring payments still hitting the old account?
- Any subscription you forgot you had?
- Any fees showing up (maintenance, overdraft, out-of-network ATM)?
- Any deposits still landing in the old account?
This is also a great time to set up alerts on the old account so you get a notification if anything posts.
Step 12: Fix anything tied to the old debit card
Even if you changed your bank-account-based recurring payments, some services run on the debit card number itself.
Look for merchants that say:
- “Visa debit” or “Mastercard debit”
- “Card on file”
- “Recurring card payment”
Update those with your new debit card, or consider switching recurring payments to a credit card you pay off monthly. Credit cards often have stronger built-in dispute tools and can keep a fraud issue from draining your checking balance. Debit cards also have protections, but the money typically leaves your account sooner, which can make cash flow tighter while a dispute is resolved.
Step 13: Close the old account cleanly
Once you have confirmed:
- At least one paycheck deposited into the new account
- Your major recurring payments moved and successfully drafted from the new account
- No pending transactions in the old account
- Any outstanding checks have cleared (or you have addressed them)
- Your old account balance is at $0 (or whatever your bank requires)
Then close it.
Depending on the bank, you can close:
- In person at a branch
- By secure message in your online banking
- By phone after identity verification
Ask for written confirmation that the account is closed and any remaining balance was paid out. Also confirm how the bank handles any late-posting items (like a delayed fee or a merchant adjustment) so you do not end up with an unexpected negative balance or a collections notice after you thought everything was done.
Don’t get burned
- Do not close the old account early. Overlap is protection.
- Do not rely on memory. Use transaction history to find every recurring charge.
- Do not move money out before deposits are stable. Verify direct deposit actually landed.
- Do not forget annual or quarterly bills. They can be easy to miss.
- Do not ignore pending transactions. They can still post after you think you are “done.”
Mini timeline
If you like having a simple plan, here is a realistic schedule that keeps you safe from missed bills:
- Week 1: Open new account, set alerts, list all deposits and recurring payments, check for early closure fees, leave a buffer in old account.
- Week 2: Update direct deposit and move your most important recurring payments.
- Week 3: Move remaining recurring payments, update wallets and payment apps, update external links, transfer most funds to new account.
- Week 4: Monitor both accounts, catch stragglers, transfer remaining funds, close old account after everything clears.
FAQ
How long should I keep my old bank account open?
Plan on at least one full billing cycle, and ideally until you have seen one full paycheck land in the new account and your major recurring payments successfully draft from it. For many people, that is 2 to 4 weeks. If you have lots of recurring payments, paper checks, or irregular bills, 6 weeks is not overkill.
What if a recurring payment hits the old account after I moved the money?
This is why we leave a buffer. If you still get caught, move money back immediately and contact the biller to confirm payment status. If a payment bounces, ask the biller to waive the fee after you pay. Many will do a one-time courtesy waiver if you call quickly.
Should I switch recurring payments to a credit card instead of checking?
For many bills, yes, as long as you pay the card in full every month. Credit cards can make disputes and fraud issues easier to manage, and you avoid surprise holds shrinking your checking balance. For rent or mortgage, you may be limited to bank transfer or check.
Can I change everything in one day?
You can, but it is riskier. The safest method is overlapping accounts and moving deposits and recurring payments in a controlled order. One-day switches tend to fail when a payroll change takes longer than expected or a forgotten subscription drafts at the wrong time.
Final sanity check
Switching banks is one of those adult tasks that feels weirdly stressful for something so normal. If you do only two things, do these: keep both accounts open for a few weeks and use your transaction history as your checklist. That combo catches almost every surprise bill before it costs you money.
If you want, grab your last 90 days of transactions and make your three lists tonight. That single step turns “I hope I got everything” into “I know I did.”